General info and
preparation
Tools you'll need for the revision
Before starting the rebuild, you best check if you have all the
tools in house before starting.
You could probably make some things yourself (flywheel puller), but
decent material results in a decent revision. So what you’ll need:
![]()
- New bearings (more info below)
- ATF Oil
- Bearing puller
- Flywheel puller
- Pistonstop
- Optionally a new crankshaft
- Tap spanner
Which bearings do you need?
3 vs 4 beared E50 engine
You’ll need to check if your engine has 3 or 4 bearings. If you
don’t know this by heart, you can only check this by opening the
engine block. If you have 2 crankshaft and 2 main gear bearings, you
have a 4 beared E50 engine. If you only have one bearing on the main
gear, then it’s a three beared E50 engine.
New Model vs Old Model crankshaft
Before starting the revision, you should also check if you have a
new model or old model crankshaft. The best way is by looking at the
crankshaft and check if there is a thickening on the clutch side. If
so, you have the old model (22mm) if not, you have the new model
(17mm).
Get yourself a revision set
I strongly recommend to get yourself a revision set instead of
searching each element seperately. The sets are very competitively
priced, of good quality en most importantly, you can be sure you
have everything in place for a successful rebuild.
Disassembling the E50 Engine block
Preparation
A revision of the E50 Engine block starts at disassembling it.
Before you do this, it’s a good idea to (if possible) warm up the
engine (go for a 5 min drive). When the engine is warmed up, drain
the oil out from the engine block. There is no need to keep the oil,
as we will no longer needed it. Before removing the engine block,
you should also remove the following parts. By doing this, you’ll be
able to work much easier:
- Sidecovers
- Clutch cable
- Chain
- Throttle cable
- Fuel hose
- All electric connections
Disassembling the clutch
-
Remove the spark plug and replace it by a piston stop
- Remove the clutch cover (4 bolts)
-
Disassemble the circlip that keeps the press plate in place
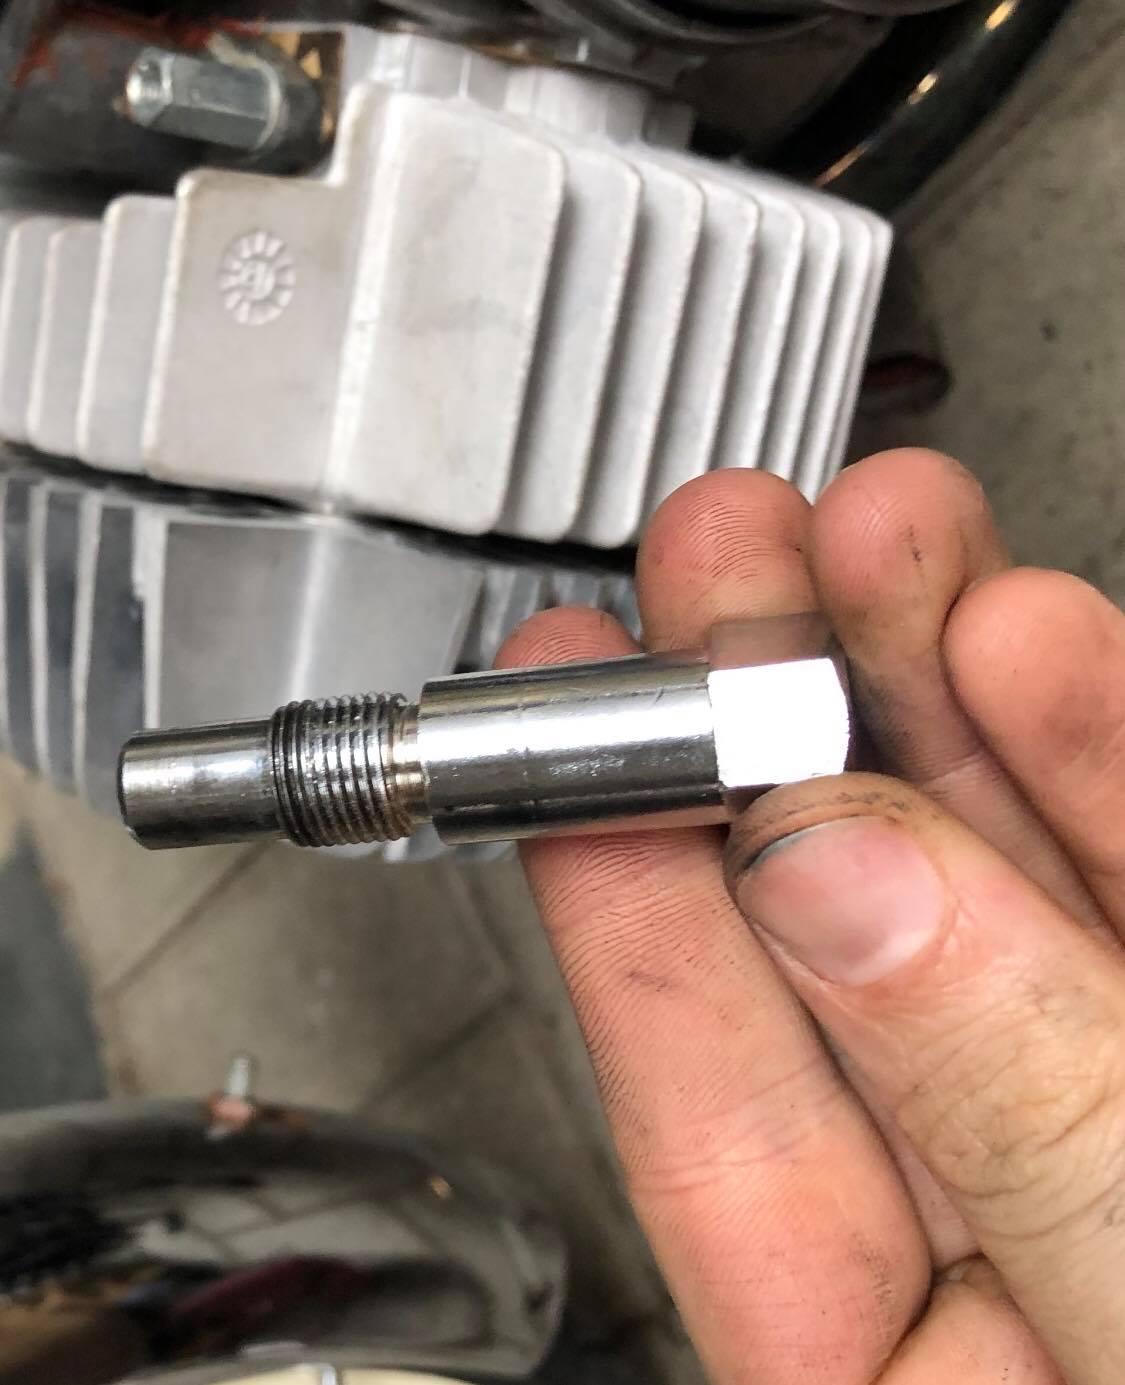
Now you should see the clutch. This is tightened with a 17 bolt and
is not always easy to loosen, but since you’re using a piston stop,
this will go pretty easy. It’s also possible to use a wrench, but
this might damage your crankshaft thread.
Removing the clutch is not something you can do with your bare
hands. Here you’ll need to use the clutch puller.
Now that the clutch is detached, it’s time to remove the clutchbell.
By removing the crankshaft’s circlip you can remove the clutchbell
with the shim washers. Pay attention on how the shim washers were
attached!
Behind the clutch bell there is another shim washer which can be
removed without much effort. Behind the shim washer there’s another
circlip which stabilizes the crankshaft bearing. Remove This circlip
as well.
![]()
Inserting the piston stop
![]()
Pulling the clutch with a clutch puller
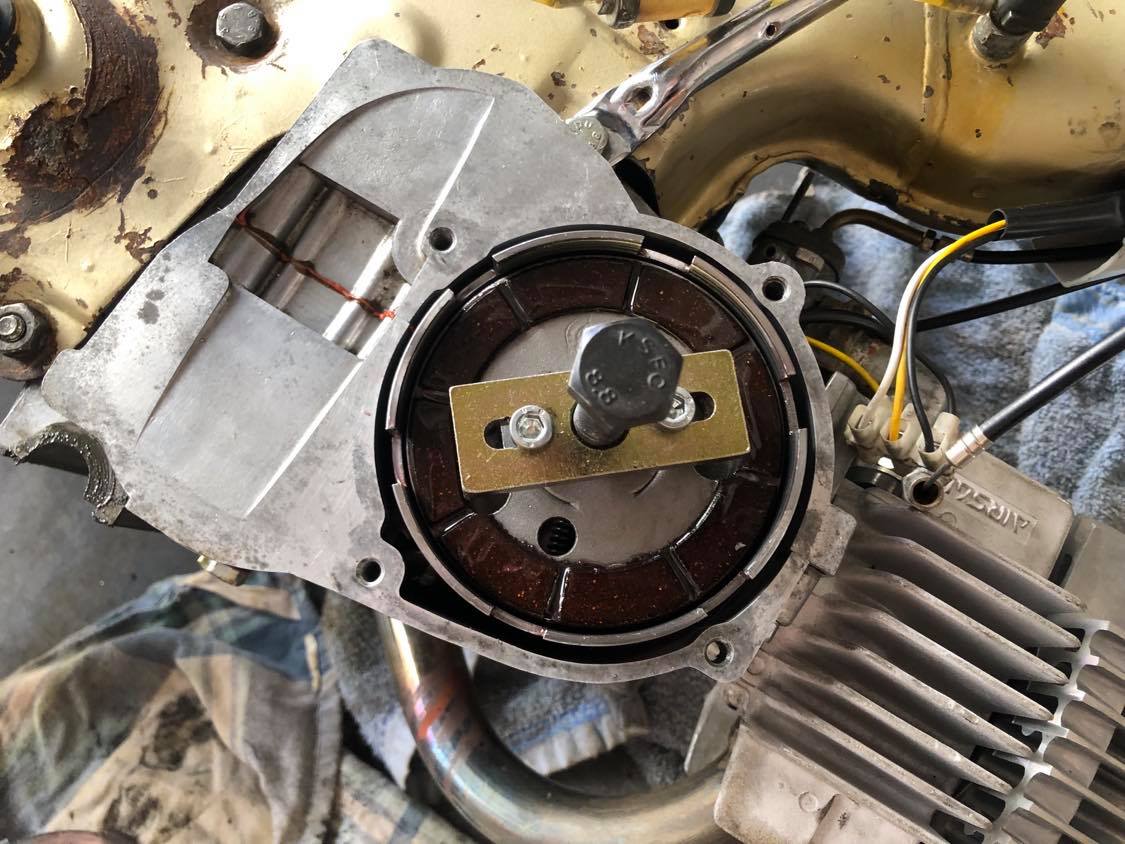
DETACH THE IGNITION
Remove the ignition cover so that you can disassemble the flywheel.
Do use a flywheel puller for this!
Advice: add a mark on the baseplate and on the
carter (same place), so that after the revision, you don’t need to
readjust the ignition 😊. If you do need to re-adjust the ignition,
we wrote a detailed "how to" post
here.
Remove the ignition by loosening the 3 screws. Remove the air filter
and loosen the cylinderhead bolts. Remove the exhaust.
Disasemble THE E50 ENGINE
Now we can finally start with the fun stuff, disassembling the
engine . To do this, follow the next steps:
-
Detach the engine block which is attached to the frame with 3
bolts.
-
Detach the manifold from the cylinder.
-
Losen the 4 x M6 bolts from the cylinderhead. You can now remove
both the cylinderhead and the cylinder.
-
Remove the 2 piston clips (use a tang).
- Now gently push out the piston pin.
-
Remove the piston from the crankshaft and the needle bearing
(unless it’s the original crankshaft).
Once you finished these steps, you can now open the engine block!
Turn the engine upside down and remove all screws connecting the 2
case halves. Now you can separate the two halves. The latter can be
a tuff job, so you could use a rubber hammer to carefully separate
the halves.
Current situation
Now the engine block is disassembled. On the crankshaft and the main
gear there are still some bearings mounted.
Important: check if there is to much play on the big end. If there
is, you should also replace the crankshaft!
DISASSEMBLE THE MAIN GEAR
AND
CRANKSHAFT
Remove the following from the main gear:
- The sprocket
- The seal
- All circlips
-
The bearings (do this with a bearing puller!)
- The circlip behind the bearing
Detach de bearings and circlips from the crankshaft.
![]()
Pulling the crankshaft bearings.
![]()
Close-up of pulling a bearing
PARTS TO REPLACE
Upon this point you have disassembled a lot of parts. Now it’s
important to replace all parts that can be worn.
A revision of a puch maxi costs time and money, but if you want to
do a successful revision, you shouldn’t save on parts that can wear
out and you should only buy the good quality stuff! The most
important parts that can wear out are:
-
Piston (incl. Rings, pin, clips and optionally needle bearing)
- All gaskets
- All bearings and seals
- All circlps
- Engine oil (ATF)
- Sprockets + chain
- Screws and bolts
- If needed: crankshaft
- If needed: cylinder / cylinder head
ASSEMBLING THE E50 ENGINE
Some advice: if it’s your first time your
rebuilding an E50 engine, you can use an exploded view while
assembling. Before starting assembling the engine, make sure that
all parts are cleaned.
Mount the bearings
This part is often seen as a tricky part, but if you follow the
instructions below, you’ll do just fine!
Put the crankshaft in the swivel vise.
Make sure pressure is only on one crankshaft cheek to avoid
problems with the balancing.
Heat the bearings in an oven. You can put them 20 minutes in a
preheated oven of max 100 degrees! To hot will damage the bearings.
After 20 minutes of heating, it's much easier to mount the bearings.
Take your time and use a tap spanner to carefully tap the bearings
to the right place.
Don’t tap too hard or you’ll damage the bearings.
Make sure the tap spanner only hits the inner bearing ring and not
further. Not respecting this will also severely damage the bearing.
Once all bearings are mounted, lubricate the bearings. The bearings
on the flywheel side should be lubricated with 2-stroke oil and the
others with ATF engine oil.
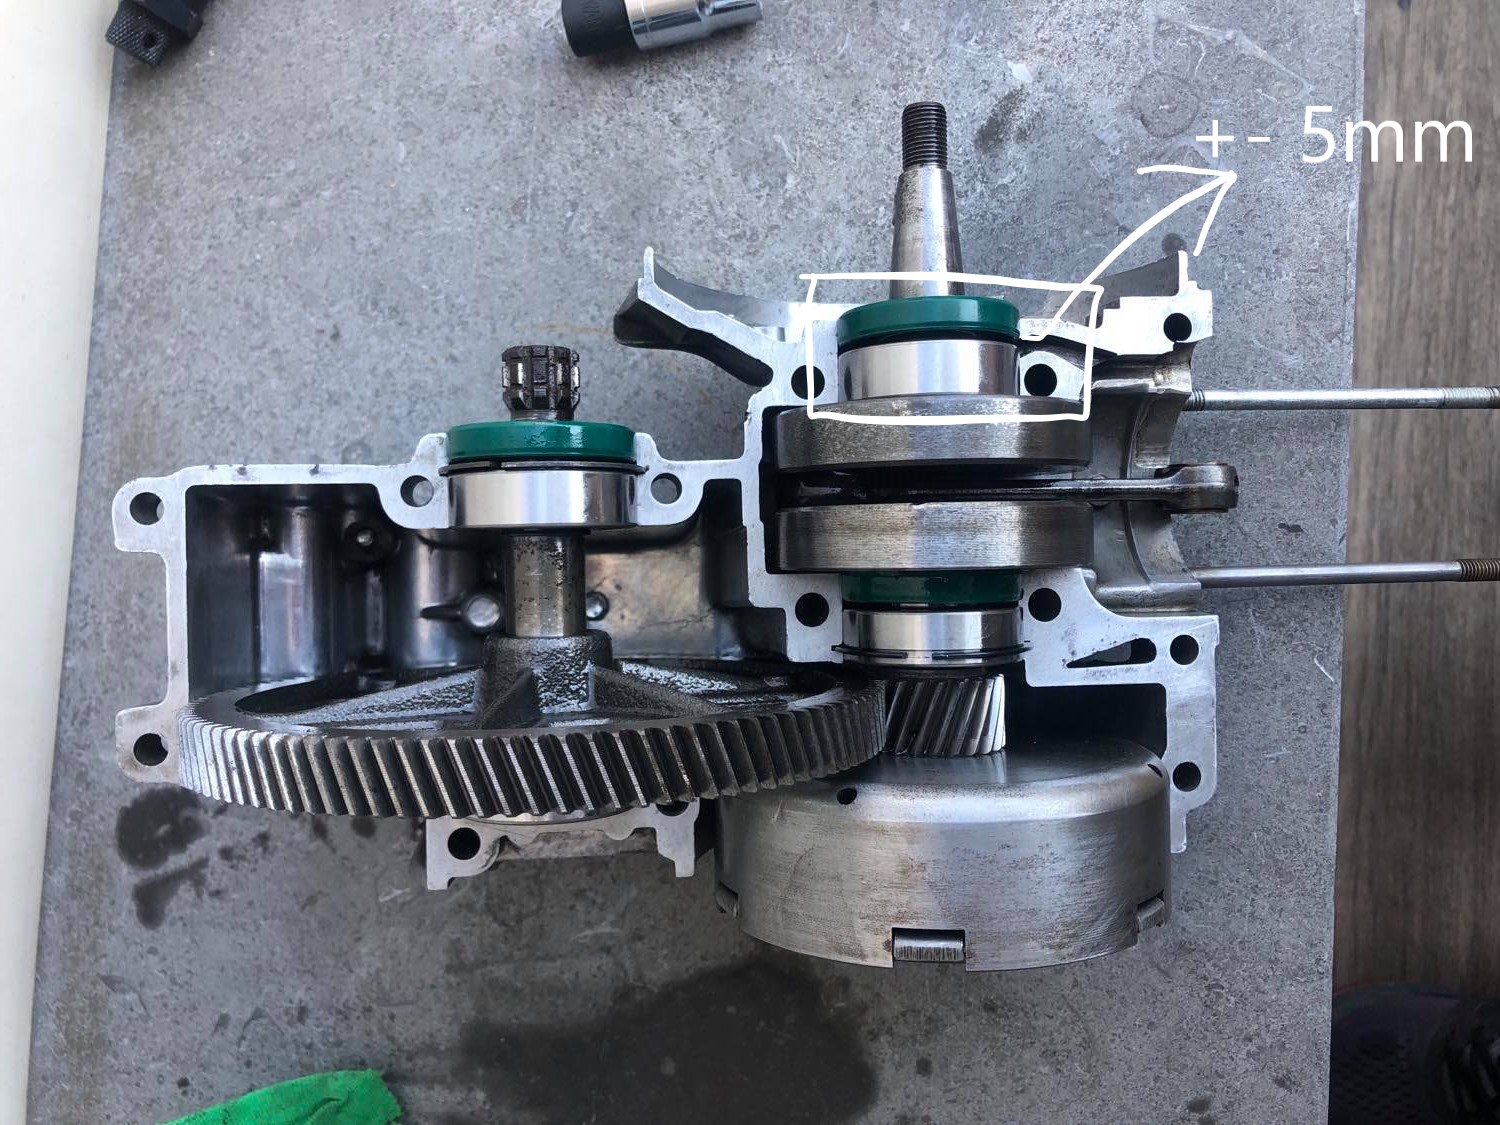
Also make sure there is +- 5mm between the oilseal and the
flywheel bearing
because the mixed fuel will take care of the lubrication of this
layer. If you put the seal against the bearing, the bearing will not
be lubricated enough.
![]()
Heating some delicious bearings
![]()
Carefully tapping with a rubber hammer
Put the circlip that keeps the bearing on its place back on the
main gear. Mount all bearings and seals on the main gear and on
the crankshaft. Pay attention! There is a difference in bearings,
so be sure you mount the right bearings on the right place!
If you’re sure you assemblied everything nicely, you can now put
the crankshaft and the main gear back in the case.
CLOSING THE 2 CASE HALVES
Put some liquid gasket on 1 case halve but don’t exaggerate! Please
note that using liquid gasket is a must to properly close the
halves. Put all screws back in the case and tighten it.
Use a torque wrench – 11 Nm.
MOUNTING THE ENGINE
Now it’s time to mount back the piston, cylinder, clutch, ... by
following the steps below:
-
Piston (incl. rings, pin, clips and optionally needle bearing)
-
Tighten the cylinder head with a torque wrench– 9Nm
-
Put the piston stop back in de cylinder head/li>
-
Put the shim washer back on the crankshaft (on the side of the
clutch)
-
Mount the new bearing bush in the clutch bell (watch out for the 2
holes that take care of the lubrication)
-
Mount the clutch bell on the crankshaft. Don’t forget the circlips
and the shim washers. There may be some play, but it should not be
visible!
-
Put the clutch back on the crankshaft and tighten the 17mm nut
-
Put the press plate back and don’t forget the press plate ring
-
Mount the clutch cover and don’t forget the gasket!
-
Put the ignition back and set it back so that the mark on the case
and baseplate matches.
-
Put the woodruff key back in its place and slide the flywheel back
on the crankshaft. Tighten it.
-
Put the manifold back on the cylinder and mount the carburettor
-
Put the engine back on the frame, connect all necessary cables and
mount the exhaust
Now you should have finshed a sucessful revision! However don’t
forget the next step 😉
STARTING THE MAXI AND FIRST RIDES
When the revision is done, first add new engine oil in the E50
engine block (ATF oil). Get some new fuel and start the Maxi. If all
goes well, you can break in the rebuilded engine. The first 100km,
you should ride relaxed. We advise not going over 35/40 km/h for the
first 100km and ride with varying revs.
Ofcourse before you can start the break in, make sure the
carburettor and ignition adjustment are set correctly. Regarding the
jet size you could use a size higher so that all bearings (and
cylinder if new) are breaking-in richer.